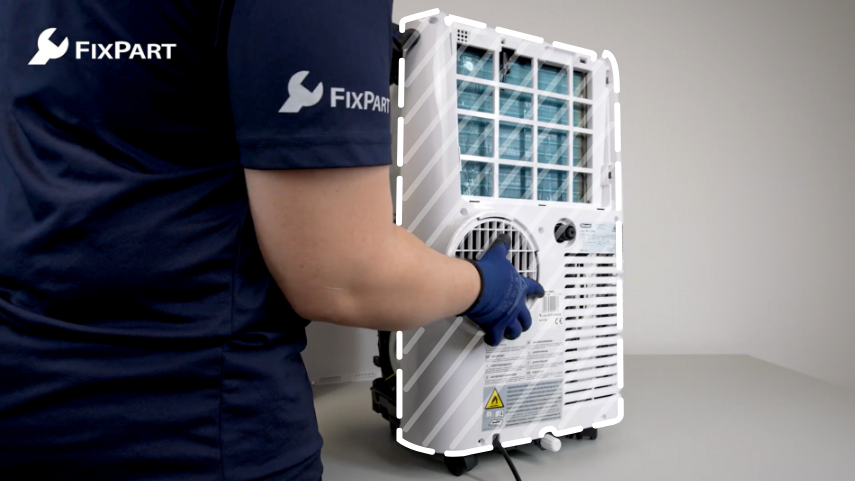
Air conditioner - Replace float
Want to replace the float of your air conditioner, but not exactly sure how? No worries — with our instruction video or written step-by-step guide, you’ll have it sorted in no time!
Instruction video
Step-by-step plan
Tools
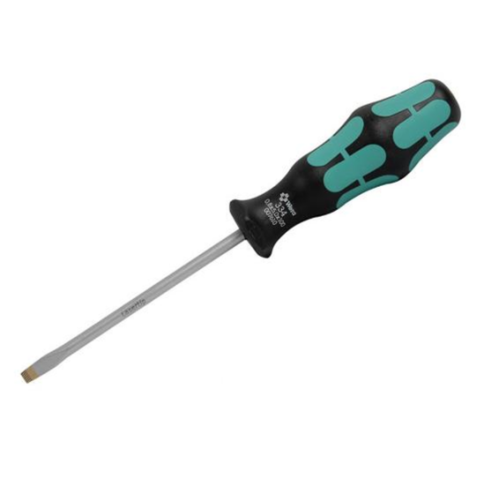
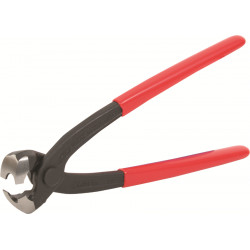
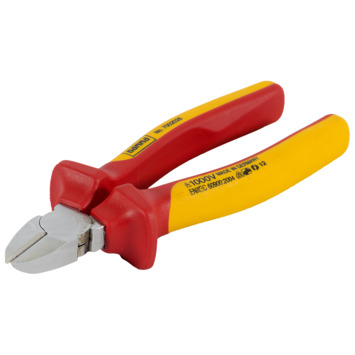
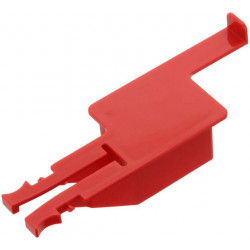
Product
Always first:
- Unplug from the socket
1. Remove the casing
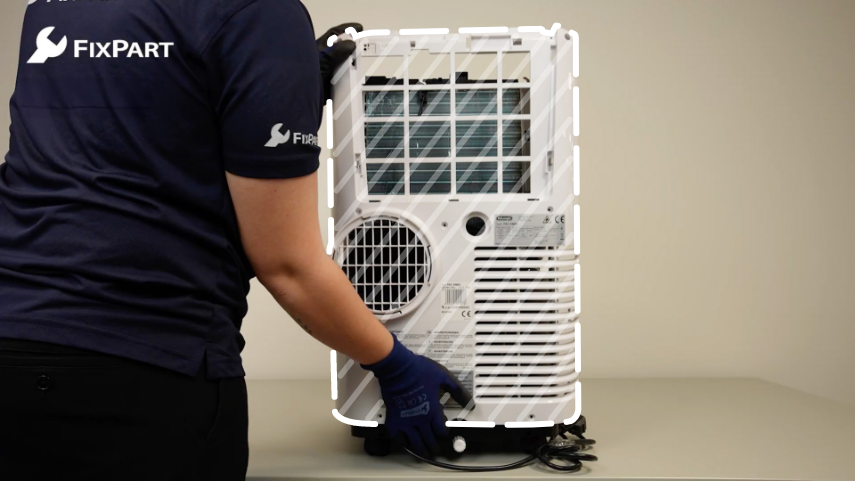
First, loosen the screws on the front and sides. Then remove the filter from the appliance. Next, loosen all the screws at the back. Remove the water stop if needed. Carefully lift up the casing and take it off.
2. Remove the old float
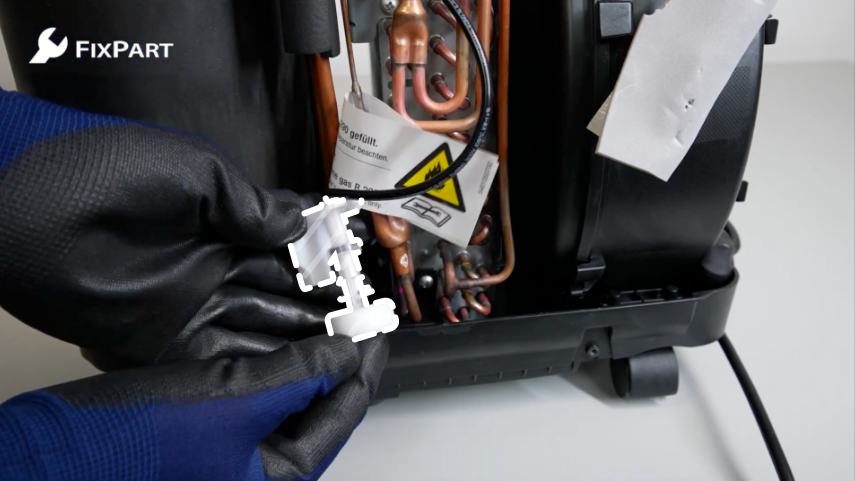
The float is located at the bottom of the appliance. Loosen the screw and take the float out of the air conditioner. Now trace the cable back to the circuit board and remove any tie-wraps. Remove the cover from the circuit board and disconnect the cable.
3. Fit the new float
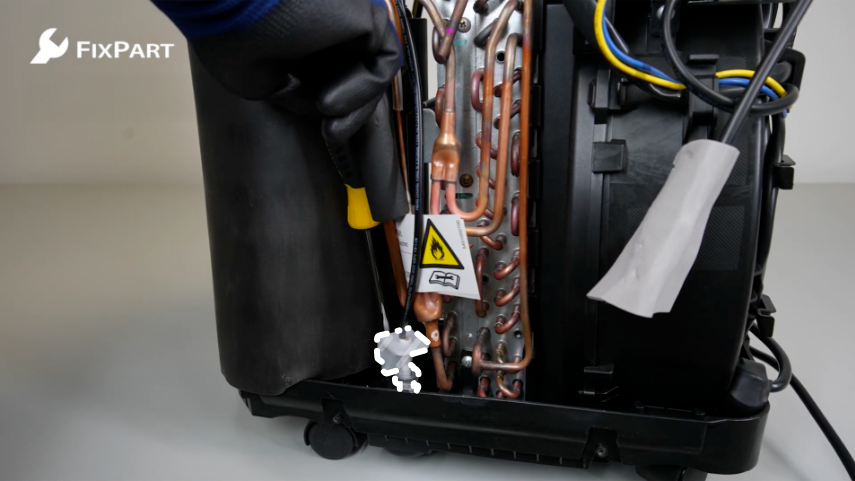
Connect the cable to the circuit board. Route the cable back and secure it with tie-wraps if needed. Then fit the float and tighten the screw firmly. Put the cover back over the circuit board.
4. Refit the casing
Put the casing back on the appliance. Tighten all the screws at the back, sides and front again. Put the filter back and refit the water stop if needed.